
Guest-Ready in 30 Minutes: 200 Sq Ft Tiny Apartment Routine
Last updated By Maya Bennett
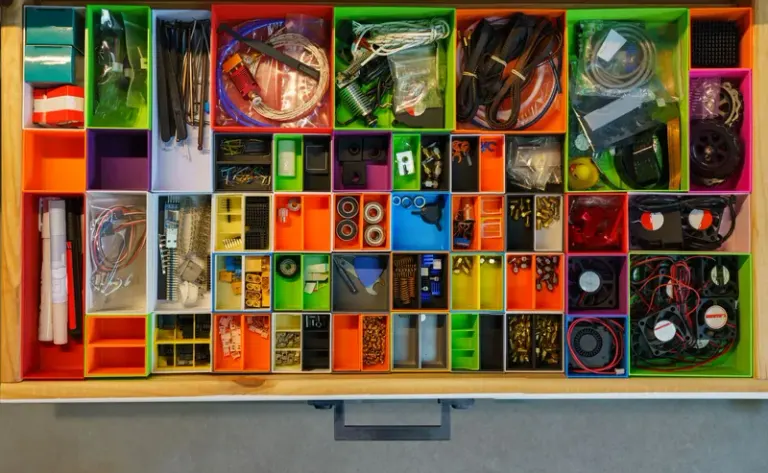
Transform your tiny space fast: a 30-minute routine to declutter, refresh, and stage any 200 sq ft home for guests with minimal tools.
Key takeaways
- The 30-Minute Mindset: Focused, Calm, and Confident
- The Tiny Toolkit: Your Essentials Kit for Fast Transformations
- Zone-by-Zone Routine: A Practical Walkthrough for 30 Minutes
- Staging & Comfort: Make Small Feel Luxurious Without Clutter
Think you can't make a 200 sq ft place guest-ready in 30 minutes? You can. Really. Small wins matter - the tiny thrill when you tuck a pillow, clear a counter, and the whole space seems to exhale is worth it. In a compact home, those little changes feel huge, and this routine leans into that exact feeling.
Read on and I’ll walk you through a calm mindset that keeps you moving, the pocket-sized kit I always carry, a zone-by-zone sprint you can run with a timer, simple staging moves that make small spaces feel luxe, and a short aftercare checklist so the place stays ready. I promise practical DIY tweaks, space-saving swaps, and hands-on tips you can use tonight. Give me 30 focused minutes and you’ll be surprised what happens.
The 30-Minute Mindset: Focused, Calm, and Confident
Panic makes a small place feel claustrophobic. The trick is to trade frantic cleaning for focused moves. Treat this as a 30-minute sprint with a clear finish line, not a never-ending overhaul. That little mental shift saves a ton of wasted motion and keeps you from getting lost in low-impact tasks.
Why this matters: in a tiny home every decision multiplies. Pick up one thing and suddenly you’re choosing: keep, stash, or toss. Use a rule set and a timer and you avoid the "one-more-thing" trap. Prioritize visible wins - clear counters, an inviting bed, a tidy entry - and ignore the rest until later.
I’ll give you quick triage rules, a timer strategy to keep momentum, and shortcuts for tricky stuff like mail and chargers. These mental tools make the 30 minutes feel efficient and even satisfying.
Quick mindset
Getting guest-ready starts in your head. Tight spaces reward fast, clear choices. This is a sprint, not a remodel. Your aim is comfort and a good impression, not perfection.
Spend one minute on setup. Start the timer for 30. Put on a playlist that keeps your energy up. Open curtains or a window for light and fresh air. Small rituals like this instantly make the room read happier.
Use a simple rule for every item you touch: keep, stash, or trash. Limit stashing to one portable basket or tote kept by the door. If something goes into that basket it’s out of sight and can be dealt with after guests arrive. This prevents decision paralysis.
Follow the two-minute rule. If hiding or fixing something takes under two minutes, do it now. Fold a throw, stack a couple of magazines, shove shoes into a tray. If it’s longer, stash it or schedule it later.
Think in layers of impact. Start with what guests see and touch: flat surfaces, seating, and the path from the door to the main area. One clean counter and a fluffed pillow read as intentional. Swap a dim bulb for a brighter one or light a candle for instant warmth.
Accept that good enough is okay. Tiny homes have character. Tell yourself, "Welcoming beats perfect." That frees you to stage, not chase impossible standards.
Use one visual anchor per zone: a folded throw on the sofa, a small bowl for keys, a plant by the window. Anchors make the place look curated instead of chaotic, even when you’re short on time.
Have a quick line ready for guests if needed: "We’re just finishing a quick tidy, come on in." People prefer authenticity to white-glove polish.
Finally, make this a habit. Run the 30-minute sprint after outings. Over time it gets faster - 30 becomes 20, then 10. Those small victories add up. You’ll walk to the door calmer and a lot more confident.
The Tiny Toolkit: Your Essentials Kit for Fast Transformations
A lean, well-stocked kit is the biggest speed multiplier. Think Swiss Army knife for hosting: compact, multi-use, and always handy. I keep a small bag or box with the basics that fix most last-minute problems: microfiber cloth, multipurpose cleaner, lint roller, cable ties, clips, a tiny sewing kit, battery candles, and an over-the-door hook. They’re light, don’t eat floor space, and let you make visible fixes in seconds.
Why it matters: when you have the right tools ready, you skip the "where did I put that" detours. In a tiny home one missing item can turn into a 10-minute scavenger hunt. The kit lets you patch a drip, tame a shoe pile, freshen a cushion, and hide cords fast.
Below I break down each item, where to store the kit for fastest access, and a few swaps to match your lifestyle. The goal is not to hoard tools but to own the right ones so 30 minutes becomes a reliable routine.
The essentials kit: what it is and why it matters
Treat this pack like your pocket toolkit for polish. It’s not your entire cleaning closet. It’s a compact pack that solves the things guests notice: smudges, pet hair, small repairs, missing chargers, and that stray cup. I stash one in every tiny place I stage. It saves time and clears decision fatigue.
Pack this compact kit
- Microfiber cloths (2), one for glass and one for general surfaces. Lint-free and reusable.
- Travel-size multi-surface spray, usable on counters, stainless, and laminate.
- Lint roller. Magic for pillows and fuzz.
- Small handheld vacuum or battery mini-vac, if you have room, for crumbs and quick carpet touch-ups.
- Rubber gloves and a travel sponge for fast spot-cleaning.
- Multi-tool and a couple of basic screws for quick fixes (loose hinge, wobbly leg).
- Mini flashlight and spare batteries for dark corners or fuse checks.
- A few short charging cables and a small power bank, because guests forget chargers.
- Extra hand towels and a couple of washcloths, rolled to look neat and double as staging.
- A tiny vase or glass and a single stem for an instant curated touch.
- Small zip bag with safety pins, a stain stick, and a bandage for tiny emergencies.
- A candle or travel-size essential oil roller to add warmth and a subtle scent.
Keep everything small. The kit should fit in a shoebox, over-door pouch, or slim undershelf caddy.
Smart storage and DIY mods
Mount a magnetic strip inside a cabinet door for scissors and the multi-tool. Repurpose an over-the-door shoe organizer turned inward to hold chargers and cloths. Command hooks on a closet door hold a mini broom or vacuum wand. I stick a clear zip pouch under a shelf with double-sided tape for emergency bits so I see contents at a glance.
How I use it in the 30-minute sprint
Open the kit first. Brighten the room, then do a quick pass with the lint roller and cloth. Spray and wipe visible surfaces. Run the mini-vac along walkways and seating. Tighten any loose bits with the multi-tool. Place rolled towels and the stem somewhere visible. Tuck chargers and the candle on a side table. Done.
Refill after each guest. Put a tiny checklist on the kit lid so restocking is painless. Little prep, big payoff.
Zone-by-Zone Routine: A Practical Walkthrough for 30 Minutes
Method beats random action in small spaces. Divide a 200 sq ft place into four zones: entry and storage, living/sleeping area, kitchenette, and bathroom. Tackle zones in an order that gives the biggest visual payoff early - usually entry, then living/sleeping, kitchen, and bathroom. That way guests don’t catch the mess on the way in, and each cleared zone builds momentum.
Why zoning works: it prevents scattershot cleaning where you dust one shelf, then another, and end up nowhere. With a short checklist for each zone - wipe surfaces, stash or hide, quick fix, and one staging move - messy complexity becomes a fast sequence. Use a 10/10/7/3 minute split or tweak it to your layout. The timer keeps you honest and stops perfectionism.
Start at the door and move in a single direction. No backtracking. Divide the 30 minutes into tight chunks (for example: 4, 10, 8, 4, 4) and focus on high-visibility fixes in each zone. Below are step-by-step actions and DIY hacks that pay off fast.
Entry (3-5 minutes)
Clear the approach. Quick-vac or sweep the doormat, tuck shoes into a slim tray, and hang stray coats on one hook. DIY idea: turn an old magazine holder into a vertical shoe slot to free floor space. Make a simple key station by sticking a small magnetic strip to the wall or mounting a shallow tray on the console. Keep one visible surface tidy. First impressions matter.
Living / Seating (8-12 minutes)
Attack surface clutter. Group loose items onto one tray or basket and place it on a side table. Smooth throws and arrange two pillows symmetrically; a folded blanket at the foot reads intentional. Hide cords by tucking them under furniture with binder clips or running them behind a low tension rod at the sofa back. If you need to hide a lot, slide a shallow under-sofa bin or use a storage ottoman. Add a single focal object (a stem, small bowl) so the space looks styled, not stuffed.
Kitchen (6-9 minutes)
Clear countertops down to essentials. Stack dirty dishes in the sink or into a cabinet. Create instant counter space by placing a cutting board over the sink. Corral small items like mail or spices into a shallow tray and tuck it on a shelf if it’s crowding the counters. Quick DIY: clip a small curtain or fabric to the underside of an open shelf to hide appliances without a permanent change. Finish with a wiped surface and a neatly folded dish towel as a pop of color.
Bathroom (3-5 minutes)
Swap in a fresh hand towel and remove empty bottles or excess toiletries from view. Contain grooming tools in a small basket under the sink or on a high shelf. Roll towels and stack them vertically in a basket for a spa vibe. Close the toilet lid, wipe visible surfaces, and add a tiny staged touch like a folded washcloth or single reed in a cup.
Sleeping & Storage (3-5 minutes)
Make the bed simple and neat. If you can’t remake it fully, pull the top sheet and comforter tight and toss a throw across the foot. Stash visible laundry in a breathable bag or collapsible bin and tuck it into a closet or under-bed drawer. For open closets, hang a lightweight curtain or clip a fabric panel to the rod for instant concealment.
Run this path a few times and it becomes muscle memory. The first runs feel clumsy, but momentum and smart containment beat perfection every time.
Staging & Comfort: Make Small Feel Luxurious Without Clutter
Staging in a tiny home is about placement, texture, and selective layers, not buying more stuff. One well-placed throw, a coordinated set of bath items, or a trio of candles can lift the whole place. The aim is to create comfort points where guests linger: a softened bed, an inviting seating nook, a tidy entry.
Why staging matters: guests quickly judge neatness and hospitality. A polished surface signals care and makes the space feel bigger. Comfort distracts from limitations. Plush towels, warm light, and a clear landing spot for phones show thoughtfulness. Use multifunctional items that earn their daily keep - a bench that stores shoes, a tray that corrals keys, cushions that double as back support.
Below are staging checklists and DIY touches you can do in minutes, no big purchases required. Small moves, big payoff.
Quick staging moves that read luxe in seconds
Think scale and negative space. Remove every other object from open surfaces so what remains has room to breathe. Swap mismatched containers for two or three identical ones (mason jars, small baskets, or painted cans) so clutter reads intentional. Lay down a medium rug to anchor seating or sleeping areas. Hang a lightweight mirror across from a window or lamp to bounce light and make the room feel deeper. Fast, cheap, and noticeable.
Hands-on DIY comfort upgrades
I like fixes you can do in an afternoon and forget about. Add a thin, removable mattress topper for better sleep comfort without changing the bed profile. Sew slipcovers for a well-used chair so it always looks tidy. Install a slim fold-down shelf for a laptop or breakfast tray; it folds flat when not in use. Use adhesive-backed peel-and-stick panels behind a bed or sofa as an inexpensive headboard or accent. For sound control, hang a fabric panel or thick curtain on one wall to dampen echoes and make conversation feel cozy.
A few small builds go a long way. Raise a crate with short risers to create bedside storage. Attach fabric loops inside a cabinet door to hold a flashlight and a couple of instruction cards. These are quick, practical fixes that don’t require major remodeling.
Texture, temperature, and scent for real comfort
Comfort is tactile as much as visual. Layer two thin blankets of different textures instead of one heavy one. Offer a soft eye mask or washable slippers in a basket at the entry. Keep a small fan or compact heater handy so guests can control temperature quickly. Choose one subtle scent profile (clean linen, citrus, or green tea) and use it sparingly. A cotton sachet tucked near linens or a single diffuser pad is better than spraying a room.
Small hospitality gestures that feel thoughtful
Prep a guest info card with Wi-Fi, trash pickup days, and emergency numbers. Place a pitcher of water and two glasses on a bedside tray. Leave a spare set of pillowcases in a labeled drawer. Create a tiny snack station: a bowl with individually wrapped nuts and a tea packet. These small touches cost little and make guests feel immediately taken care of.
Staging is functional hospitality. When guests arrive the place should feel deliberate, predictable, and easy to live in. Those signals make a tiny home feel generous.
Aftercare Checklist: Keep the Win Without Extra Hassle
The job isn’t over when guests leave. A short aftercare routine preserves your work so the space stays ready. Think of aftercare as a quick reset that prevents clutter from piling up and turns the 30-minute rush into something sustainable. A five- to ten-minute touch-up after guests, plus a little weekly maintenance, keeps your tiny home fresh and prevents marathon cleans later.
Why aftercare matters: small spaces show wear fast. Without a plan dishes pile up, linens get rumpled, and the entry becomes a catch-all. A concise checklist prevents entropy and protects your staging investments.
Below is an easy, repeatable aftercare checklist and a few habit hacks to make these steps effortless. Stay consistent and your next 30-minute prep will feel easy.
Aftercare checklist: quick wins right after guests leave
You finished hosting. Protect the win and make the next prep faster. Do a focused 30-minute follow-up, then schedule deeper tasks. Small maintenance saves time and stress later.
Immediate 0-30 minute pass
- Open windows for ventilation. Fresh air clears lingering smells faster than sprays.
- Empty the stash basket into its spots (laundry, recycling, return-to-owner). Don’t scatter items across surfaces again.
- Wipe high-touch surfaces - light switches, doorknobs, tabletops - with a microfiber cloth.
- Take out trash and recyclables now so smells don’t build.
- Reset staging anchors. Put the vase or folded throw back where they belong so the room reads tidy.
Same-day tasks (within 24 hours)
- Launder bedding and towels. Dry fully and fold or store in a labeled spot so replacements are obvious.
- Check consumables. Refill toilet paper, hand soap, and coffee or tea. Note low items on a one-line shopping list.
- Photograph the room. One wide shot of the staged setup helps you replicate it quickly next time.
- Inspect for damage or missing items and log what needs repair while it’s fresh. Small fixes now prevent big headaches later.
Weekly and monthly maintenance
- Deep clean high-traffic surfaces and the floor. Rotate a mini deep-clean into your weekly routine so the 30-minute prep stays quick.
- Run a maintenance checklist: tighten a wobbly leg, replace a burned bulb, test smoke and CO detectors.
- Rotate storage to move overflow items out of visible zones and prevent creeping clutter.
Smart habits that multiply speed
- Keep one labeled guest basket with spare linens, a basic snack pack, and the guest info card so staging becomes one grab-and-place action.
- Set calendar reminders for linen laundering, filter changes, and a monthly mini-inspection.
- Document go-to fixes. A short note in your toolkit or on your phone pointing to spare chargers, an extra pillow, or the folding stool saves decision time.
Treat aftercare as part two of hosting. The more consistent you are, the fewer last-minute scrambles you’ll face. Tiny effort now equals huge time savings later.
Your Path Forward
You now have a straightforward blueprint: adopt the 30-minute mindset, open the curtains, set the timer, and use the two-minute rule. Build a shoebox-sized essentials kit (microfiber, lint roller, mini-vac, chargers, a candle), follow the zone-by-zone routine (entry, living/sleeping, kitchen, bathroom), and use quick staging moves like a single stem, rolled towels, and a focal tray to make the space read intentional. Practice matters more than perfection; your first sprints will feel awkward, then you’ll shave minutes off each run.
My recommendation: assemble the kit, install one or two DIY fixes that remove friction (magnetic strip, fold-down shelf, under-sofa bins), and make the aftercare checklist a habit. Accept "good enough and welcoming" as your standard. Snap a quick photo of your staged setup so you can recreate it in five minutes next time.
Want to prove it works? Set a timer for 30 minutes tonight, try a 4, 10, 8, 4 split (or your own), and see the before-and-after. Drop a comment about your favorite hack or what saved you the most time. If you want a printable checklist and a starter essentials kit list, grab it from the blog, try the routine this week, and tell me which DIY mod made the biggest difference.
Related product reviews
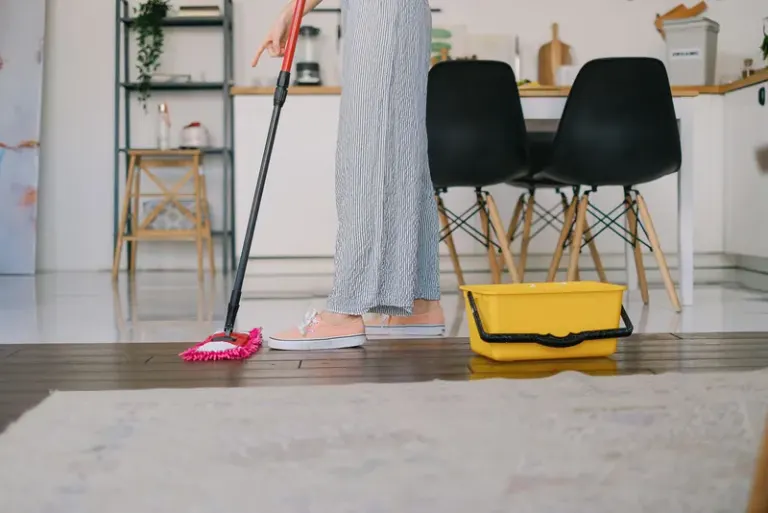
Best Fold-Flat Mop & Bucket Combos for Small Space Living
Find fold-flat mop and bucket combos that collapse, hang, or stack to save floor space, with easy wringing, compact storage, and faster cleaning.
Read more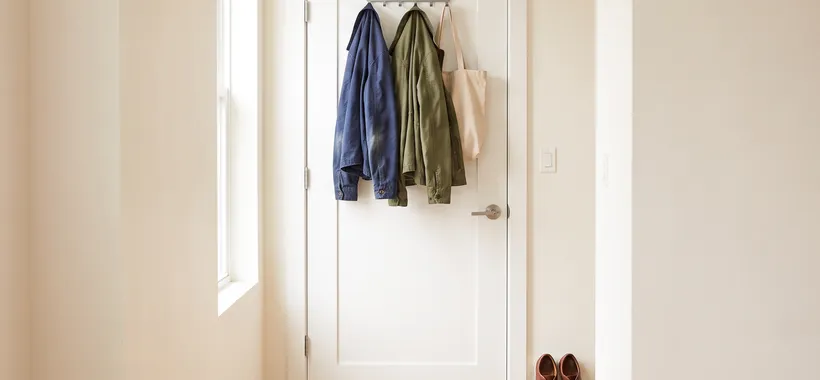
Best Over-Door Multi-Hook Organizers for Small Space Entryways
Compare five hook racks on the two measurements that decide first, door thickness and top-jamb clearance, with folding versus fixed over-door options and a wall-mount rail as the labeled fallback for doors that cannot take over-door hardware.
Read more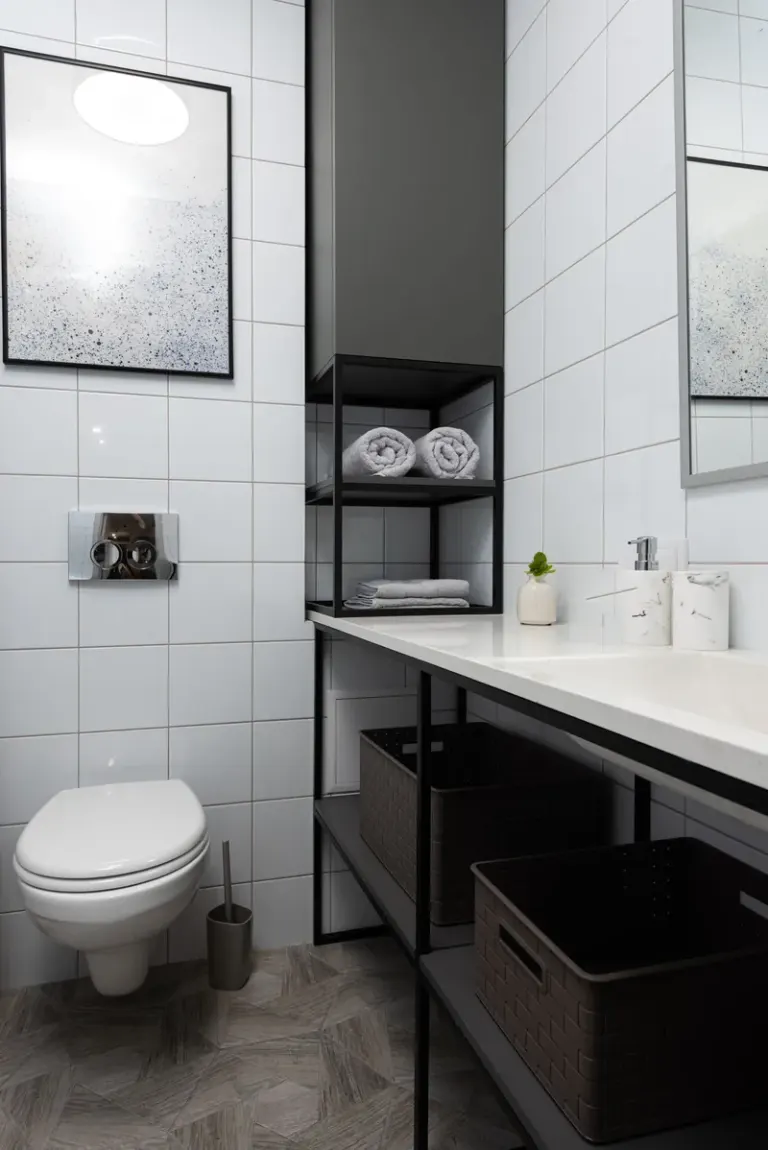
Best Fold-Flat Over-Toilet Storage for Small Spaces
Discover compact fold-flat over-toilet storage solutions that free floor space, organize towels and toiletries, and maximize clearance in your small space.
Read more