

What if your tiny home felt like a calm retreat instead of a sensory obstacle course? Picture the usual scene: a cramped studio where clutter, harsh lights, and surprise noises pile up until simple tasks feel like a big production. Now imagine a different small space where layout, finish choices, and a few reliable routines keep stimulation steady and predictable. The trick is not adding more stuff, it’s removing friction.
Key takeaways
- Core Principles of Sensory-Friendly Design for Small Spaces
- Designing Predictable, Low-Stimulus Layouts
- Calm Lighting, Thoughtful Acoustics, and Sensory-Friendly Materials
- Smart Storage, Clear Zones, and Soothing Transitions
I’ll show you how to shape compact living into a low-stimulus environment that genuinely supports neurodiverse residents. We’ll cover five practical areas: principles of sensory-friendly design, predictable low-stimulus layouts, lighting/sound/material choices, storage/zoning/transitions, and finally personalization, routines, and resources. Expect space-saving strategies that prioritize calm, independence, and efficiency. Read on for layout ideas, material swaps, and simple routines you can try without giving up function or style.
Core Principles of Sensory-Friendly Design for Small Spaces
Start with the why. Sensory-friendly design is not about making a place bland or stripping it of personality. It’s about cutting down unnecessary input, creating reliable cues, and making daily tasks predictable. In a tiny home or camper van every surface, sound, and switch matters. When you intentionally reduce visual clutter, soften abrupt transitions, and limit unpredictable stimuli, the payoff is real: more clarity and more independence for the person who lives there.
These core principles are your compass. Minimize competing patterns and visual clutter. Favor steady, adjustable sensory elements instead of fixed extremes. Prioritize ease of access and simple controls so lighting, temperature, and storage feel manageable without complicated instructions. In small spaces, one well-chosen principle applied consistently usually beats a dozen small, half-baked changes.
Below we’ll translate those principles into practical decisions you can make today. Expect advice that respects tight square footage: how to choose finishes that calm, how to reduce sensory hotspots, and how to plan movement that feels obvious. This section sets the tone for the hands-on solutions that follow.
Core principles of sensory-friendly design
Think of sensory-friendly design like editing a room until everything left has a purpose. My approach is minimal and deliberate. Ask what needs attention, what can be ignored, and what can go away. The aim is steady, predictable input so the person living there can focus on tasks instead of constantly recalibrating.
- Predictability. Keep layouts and routines consistent. Put essentials in fixed, logical spots. Use repeatable sequences so habits form without constant decision-making.
- Reduction. Remove extras that compete for attention. Fewer finishes and fewer knickknacks means less visual and tactile noise.
- Control. Let residents adjust light, sound, and texture quickly and simply. Control equals independence.
- Clear affordances. Make it obvious how things are used. Open sightlines, uncluttered paths, and obvious pulls or handles prevent confusion and accidental overstimulation.
- Layering. Offer graded options for stimulation, for example a quiet retreat plus a slightly more active spot. Gradation lets someone step up or down in stimulation instead of being thrown from calm to chaos.
Practical ways to apply principles in a tiny home
Choose a restrained palette and consistent finishes. I favor matte, low-reflective surfaces because they cut glare and make the whole space read as one thing, which shortens the brain’s visual checklist. Use furniture with simple silhouettes and hidden storage so clutter is out of sight without adding bulk.
Design sightlines and routes to be obvious. Align the big pieces so pathways are direct and doors open the way people expect. In a tiny home that alone prevents a lot of accidental collisions and the sensory spike that comes with them.
Create single-purpose zones, even in a studio. You don’t need walls. A change in flooring texture, a low-profile shelf, or a shift in light color can signal a transition. Those small cues help the brain switch modes smoothly.
Apply "one-touch" principles for routines. The fewer steps needed for common tasks, the lower the sensory buildup. Examples: a landing for keys and phone by the door, a single easy-to-operate switch for an area, and clearly labeled containers for daily essentials.
Test and iterate. Set the space up, live in it for a week, then remove or relocate anything that causes friction. Minimalism here is not austerity. It’s careful removal until what remains supports calm, independence, and effortless living.
Designing Predictable, Low-Stimulus Layouts
In tight quarters the layout becomes a behavior guide. A predictable plan gently directs movement and limits surprises. Instead of scattering functions, cluster related activities so routines feel spatially coherent. For example, keep prep, cleanup, and meal storage within a compact triangle. Clear sightlines and unobstructed paths reduce the startle of unexpected obstacles, and consistent placement of daily items builds confidence and speed.
Simplicity wins. Use built-in furniture and multipurpose pieces to cut visual noise and decision points. Avoid open shelving in high-traffic zones if it becomes cluttered. Think of anchor pieces that define a zone: a bench that doubles as shoe storage, a fold-down table that marks the eating area. Anchors make the environment readable at a glance, which lowers cognitive load and supports independence.
This section explores layout templates, compact furniture arrangements, and swaps that make tiny spaces feel structured rather than cramped. I’ll also explain how to layer predictability so guests and household members understand the space quickly, and how to tune a layout to individual sensory needs without losing storage or flexibility.
Predictable low-stimulus layouts are choreography. Picture actions flowing from one reliable place to the next with as few surprises as possible. The goal is to reduce decision points and sudden sensory changes so daily tasks feel effortless rather than draining.
Layout archetypes that reduce surprises
- Linear galley. Arrange functions in a clear sequence: entry, prep, wash, sleep along one axis. Movement becomes obvious and repeatable.
- Nook-and-corridor. A short corridor leads to defined pockets: a kitchenette alcove, a sitting nook, a sleeping alcove. The corridor reinforces direction and timing.
- Stacked vertical. Use vertical separation to keep activities from overlapping. A raised bed platform or loft keeps sleep visually and physically separate from daytime tasks without extra walls.
Pick the archetype that matches daily routines and plumbing constraints. Fewer turns and fewer doors mean fewer surprises.
Place items in predictable sequences
Sketch a typical day on paper. Start at the entrance and follow each step. Then place the item or control you need next along that same line. Keys, coat, and shoes stay together. Coffee gear sits next to the kettle. A predictable chain cuts down mid-task searching and sensory spikes.
Keep frequently used items in a consistent reach band. Store daily things between waist and shoulder height so reaching is uniform and effort predictable.
Use simple physical cues
A single consistent tactile cue can mark transitions. A low-contrast runner rug, a switch from wood to loop carpet, or a narrow tactile strip by the bed gives an immediate, nonverbal signal that activity is changing. Different pull shapes help too. A rounded wooden knob for food storage and a flat metal pull for clothing teaches touch recognition without labels.
Favor sliding doors or curtains for transitions. They remove swing surprises and create a soft, repeatable boundary.
Practical clearances and predictability checks
Aim for a comfortable single-person path. A clear width of roughly 30 to 36 inches works for most people. Keep primary walkways free of temporary objects. Fixed furniture footprints make paths reliable.
Quick test. Walk through your space while carrying a small tray. Notice where you stop, slow, or fumble. Those are your friction points.
A small real-world note. I once laid a narrow runner to guide someone with strong spatial defensiveness. That rug became a daily anchor; it cut hesitation at the doorway and doubled as a durable landing for bags.
Predictability is cumulative. One consistent layout choice, applied across storage, controls, and transitions, makes the whole tiny home feel like a well-rehearsed routine.
Calm Lighting, Thoughtful Acoustics, and Sensory-Friendly Materials
Lighting, sound, and materials determine how a space feels moment to moment. Harsh overhead lights, echoing surfaces, or wildly textured fabrics can raise stress in a small home. On the flip side, layered lighting, acoustic damping, and tactilely consistent materials create a stable backdrop for daily life. In compact homes these swaps are high leverage: changing a bulb or adding a rug can transform the atmosphere.
Practical control matters. Dimmable warm-tone lighting and multiple light sources let residents pick the right level for a task or relaxation. Soft, washable textiles and matte finishes reduce glare and unexpected tactile surprises. For acoustics, small additions like curtains, rugs, and an upholstered panel absorb sound and limit reverberation, which is especially important in thin-walled apartments and vehicles.
Below are product types, placement strategies, and material priorities that balance durability with comfort. Expect straightforward advice on bulbs, switch locations, fabric choices, and how to test acoustic and tactile changes without expensive renovations.
Lighting
Lighting should be steady, controllable, and layered so residents can choose the right level for each activity. Start with a warm ambient layer for evenings, roughly 2700-3000 K, and add a cooler task layer for meal prep and reading. Use dimming wherever possible. A single rotary dimmer or a two-button scene switch keeps controls simple and reliable.
Choose flicker-free LEDs and test new fixtures with your phone camera. If the video shows rapid banding or pulsing, the driver may be flickering and can cause discomfort even if your eye does not notice it. Favor indirect or diffused sources. Cove lights, upward-facing fixtures, or frosted shades reduce harsh spots and reflections. Add a low-lumen night light (5 to 20 lumens) near the bed and bathroom to support safe movement without stimulating the nervous system.
Quick checklist.
- Layer ambient, task, and night lights.
- Use straightforward physical controls.
- Test for flicker before installing.
Sound
Treat sound like another layer of lighting: predictable, softened, and controllable. First, audit the space. Note continuous sources (fridge hum, fan), intermittent spikes (door slams, plumbing), and footsteps. Fix the easy ones first. Add soft-close hardware and felt pads under cabinet doors and drawers to remove sharp slaps. Weatherstrip gaps around windows and doors to cut street noise and drafts that startle.
Absorption is key in small volumes. Place rugs, fabric wall panels, or a textile headboard to reduce reverberation. Hang a single acoustic panel at first-reflection points near seating and above the bed rather than covering every wall. For appliances, use anti-vibration pads and rubber mounts to cut transmitted noise. If masking is needed, choose a steady, low-level sound such as a white-noise machine or a quiet air purifier. Keep masking constant and adjustable so it does not become another unpredictable stimulus.
Aim for calm. For sleeping areas try to reduce peak noises and keep average background noise under about 40 dB if possible.
Materials
Pick materials that feel consistent to the touch and are easy to care for. Prefer low-sheen finishes and stable textures that do not change radically with light or moisture. For floors, consider cork or low-pile woven rugs which absorb sound, feel warm underfoot, and are resilient. Use closed-loop or short-pile textiles rather than shag that traps dust and creates variable tactile experiences.
Prioritize indoor air quality. Use low-VOC paints and sealants, and avoid strong-smelling adhesives during installation. Round edges and slightly softened corners reduce the sting of accidental knocks. Small tactile swaps make a big difference. I once replaced a cold metal pull with a warm wooden knob and the resident stopped flinching when opening that drawer. Those tiny details add up to a predictable, low-stimulus home that still functions beautifully.
Smart Storage, Clear Zones, and Soothing Transitions
Storage and zoning are the scaffolding of calm small spaces. When things have a clear home and transitions between zones are predictable, daily routines become faster and less taxing. In tiny dwellings storage should be placed to support the activity it serves. Keep frequently used items within easy reach of where you use them, and reserve deep or hidden spots for seasonal or seldom-used belongings.
Transitions matter as much as zones. Moving from sleep to work, or from transit to living, can feel jarring if the environment shifts abruptly. Use consistent visual cues, subtle floor or surface changes, and lighting transitions to mark these shifts. A bench and coat hook at the entry, a mat to define a kitchenette, or a roll-down opaque screen for sleep time can signal what mode the space is in without adding complexity.
This section offers space-saving storage techniques, zoning strategies that work in studios and vans, and gentle transition ideas that keep sensory load low. You’ll get actionable setups for daily flow, plus small investments that yield big returns in clarity and independence.
Storage, zoning, and transitions determine how a tiny home feels in motion. Thoughtful storage reduces surprises. Clear zoning and gentle transitions tell the body what to expect next. Together they make daily tasks almost automatic.
Smart storage that reduces decisions
Design storage as a predictable sequence. Group items by activity rather than by category: morning routine, meal prep, cleaning. Keep the most-used subset in the fastest-access layer (front of a drawer, top shelf, or a single open hook). Reserve deeper or higher spots for seldom-used items.
Use consistent container sizes and orientations so the system becomes readable quickly. Shallow drawers (3 to 6 inches deep) work better for frequently handled items than deep voids. Clear or high-contrast lids help identify contents at a glance. For clothing, fold by activity and stack to a visible height rather than deep piles. Vertical file-folding keeps pieces legible and reduces riffling.
Zoning without walls
Create zones by function and keep controls and supplies within each zone. A compact cooking zone should include prep tools, spices, and a wash cloth within arm’s reach. A sleep zone needs a small night kit: a reading light, earplugs, and one drawer for pajamas. Anchor each zone with one tactile or visual cue that repeats throughout the home. That cue might be a low-contrast trim color, a texture band on the floor, or a single handle style used only for zone-related storage.
Layer the scale. Make primary surfaces low and clear so the zone reads immediately. Secondary support surfaces (a small shelf, a fold-down table) can tuck away but should always return to the same place after use.
Designing calm transitions
Think of transitions as mini-routines. Reduce friction where uses change. A narrow shelf or a peg near the entry becomes the "land and launch" point for keys, glasses, and transit items. In the kitchen, designate a tiny landing next to the stove for hot pans so movement is predictable. Make sure transition surfaces are flat, non-slip, and at the same height as the adjacent work plane to avoid awkward lifts.
Grade sensory thresholds. Shift lighting, texture, or temperature gradually over a short distance rather than suddenly. For example, move from a resilient floor to a softer rug across a 4 to 6 inch threshold strip to signal a change of activity without creating a trip hazard.
Quick checklist.
- Group storage by routine and place daily items in the fastest-access layer.
- Use consistent containers, shallow drawers, and visible stacks.
- Anchor each zone with one repeated cue.
- Provide a dedicated landing at every transition.
- Grade sensory changes over small distances to avoid abrupt shifts.
Small system choices multiply. When storage, zones, and transitions are intentional, the tiny home becomes a sequence of clear steps rather than a series of surprises.
Personalize, Routine-ize, and Find Supportive Resources
A low-stimulus home should feel supportive and personal. Personalization is not about collecting things. It’s about a few curated items that soothe and support identity and function. Let residents pick a small number of meaningful objects, colors, or textures that bring comfort, and place them where they’ll do the most good. Deliberate personal touches make a place feel owned and predictable instead of anonymous.
Routines convert design into lived stability. Build short sequences that take fewer than five actions. Design the space to support the rhythms you want: a morning corner with a light and a cue for medication, an evening routine that dims lights and lowers sound, or a 10-minute tidy ritual backed by accessible storage. Rituals and environmental cues work together, turning spatial decisions into dependable habits that boost autonomy.
This section points to practical resources: checklists for sensory-friendly swaps, low-cost products tested in small footprints, and organizations that specialize in neurodiversity-friendly design. You’ll leave with a set of personalization and routine strategies that respect limited space and promote steady, independent living.
Personalization: make calm feel personal
Personalization in a low-stimulus tiny home is about small, intentional choices that comfort without creating new noise. Pick two or three sensory anchors and stop there. An anchor could be a weighted lap blanket, a small ceramic mug with a comfortable handle, or a low-contrast wall print that never competes for attention. Keep textures consistent, but allow one reliable item that brings comfort.
I test one change at a time. Add a tactile object for a week and note whether it soothes or distracts. If it distracts, remove it. Personalization is iterative. The goal is a short list of items and cues that reliably signal safety and routine.
Practical ideas.
- A tiny "retreat basket" with earplugs, a dimmable bedside lamp, and a familiar scent strip. Keep it small and portable.
- One wearable cue: a wristband or necklace that signals "ready to focus" or "winding down."
- A capsule wardrobe of 8 to 12 go-to outfits organized by activity so choice is limited and predictable.
Routines: design for effortless repetition
Routines are the architecture that lets a tiny home run on autopilot. Build very short, repeatable sequences. Start and end the day with micro-routines. For example, a morning routine could be: open curtains, drink water, choose outfit, make bed. That sequence takes seconds but sets the tone.
Use physical anchors to cue steps. A single bowl by the door for keys and phone becomes the start-of-day checkpoint. Keep routines visible but minimal. A laminated 3-step list inside a cabinet or a simple bedside card works better than a long schedule.
Simple routine templates.
- Entry routine (30 seconds): land bag, remove shoes, place keys in bowl.
- Cooking routine (2 minutes): clear counter, fetch tools from the same drawer, prep on a single tray.
- Wind-down routine (5 minutes): dim lights, place devices on charging pad, pull the retreat basket.
Allow flexibility. If a routine keeps failing, shorten it. A successful routine is the one you actually do.
Resources: low-tech aids and who to call
Not everything needs to be high tech. Low-tech aids often work best: tactile labels, peel-and-stick visual icons, laminated checklists, and a small notebook for tracking what helps or hinders. For quieter learning, try sleep and activity logs to spot patterns instead of guessing.
Professional and community resources are worth the time. An occupational therapist can assess sensory profiles and suggest targeted strategies. Local peer groups or online forums focused on tiny homes and neurodiversity share tested hacks and secondhand items that fit small spaces.
Starter resource list.
- A printable one-page routine template.
- A simple sensory checklist to rate comfort with objects and surfaces.
- Contact an occupational therapist for a short consult if sensory overload happens often.
Personalization and routines are tools, not decoration. Use them sparingly, test often, and remove anything that doesn’t make life easier.
Putting It All Together
You now have a compact playbook for turning a tiny home from a sensory obstacle course into a calm, dependable retreat. Keep the core principles in mind: predictability, reduction, control, clear affordances, and layering. Use those principles when you pick a layout archetype (linear galley, nook-and-corridor, or stacked vertical), when you choose warm flicker-free LEDs and dimming, and when you soften sound with a rug, curtains, or a single acoustic panel. Treat storage, zoning, and transitions as systems: group items by routine, use shallow drawers and consistent containers, and anchor zones with a repeated cue so the space reads at a glance. Personalization and routines are the final layer. Curate two or three sensory anchors (a retreat basket, a favorite mug, a wearable cue) and build micro-routines that take seconds, not minutes.
If you want a fast, high-return plan, start small and iterate. Map a typical day from the entry inward, then place the next-needed item along that route (keys, coat, kettle, coffee cup). Pick one layout tweak (add a runner rug or reposition a bench), one sensory swap (change to warm, dimmable bulbs or replace a cold metal pull with a wooden knob), and one control fix (a single rotary dimmer, soft-close hardware, or a dedicated night light). Run the predictability checks we talked about: walk the path with a tray to find bumps, test new lights for flicker with your phone, and live with the change for a week before adding anything else. If something causes friction, remove it. Minimalism here is about utility, not austerity.
Do one concrete thing today. Choose the smallest change that will reduce surprise in your routine (swap a bulb, clear a 30 to 36 inch path, add a landing bowl by the door), commit to a 7-day experiment, and note what improves. Use a routine template and sensory checklist as a short guide, reach out to an occupational therapist if overload is frequent, and share your before-and-after with the community so others can learn. Make that one swap, test it for a week, then iterate. Small, intentional moves compound into a tiny home that supports independence, calm, and effortless living.
Related product reviews
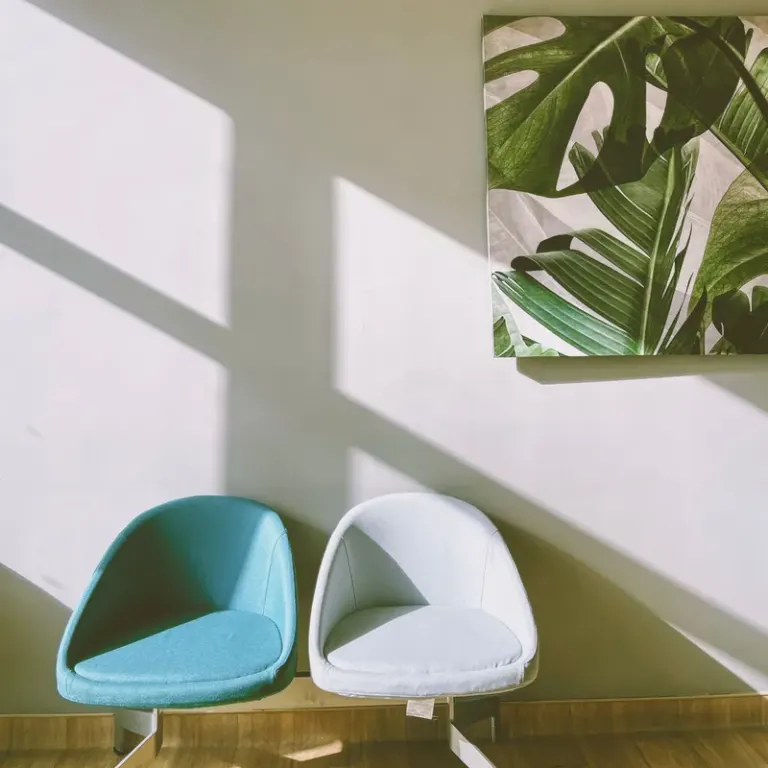
Best Acoustic Art Panels with Shelving for Small Space
Discover acoustic art panels with built-in shelving for small space - absorb echoes, reclaim floor space, and stylishly display plants, books, and tech gear.
Read more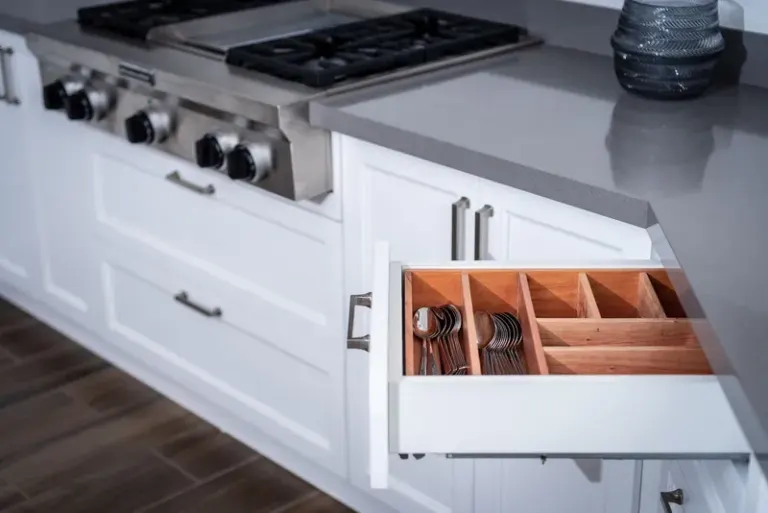
Best Under-Cabinet Charging Drawers for Small Spaces
Find under-cabinet retractable charging drawers that free counter space, hide cords and safely charge devices for small space studios, tiny homes and apartments
Read more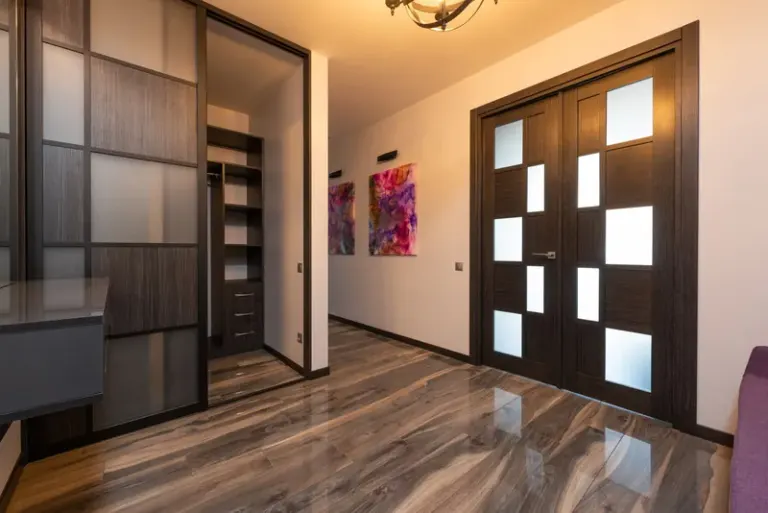
Best Mirrored Sliding Doors with Integrated Art for Small Spaces
Discover space-saving mirrored sliding doors with integrated art that open your small space, hide clutter, add style, and unlock multifunctional rooms.
Read more