
Maximize a 3-Foot Closet: Vertical Storage for Brooms, Vacuums & Supplies
Last updated By Maya Bennett
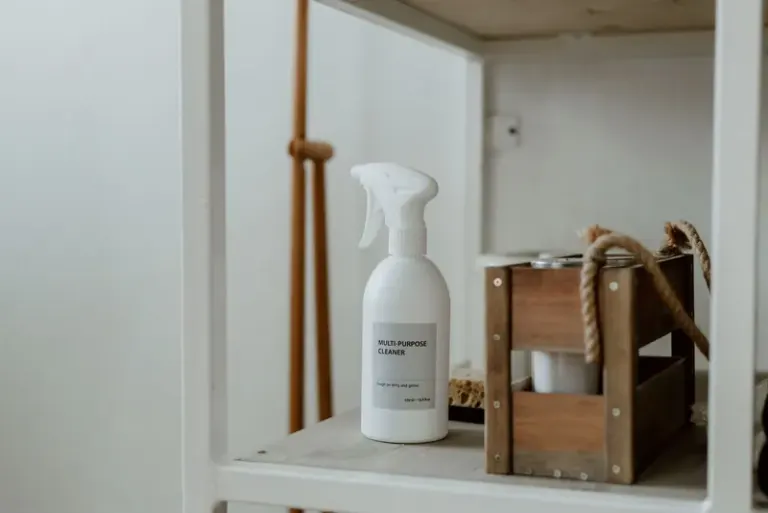
So here's a scene I know all too well: you open a narrow closet in a tiny apartment and are immediately faced with a tangle of broom handles, a mop head poking sideways, and a vacuum that somehow only fits if you force it. If you live small, that cramped mess is familiar. A three-foot closet does not have to be a black hole. With a little strategy and some vertical thinking, it can become a tidy cleaning station that actually makes keeping your place clean simpler.
Key takeaways
- First Things First: Size Up Your 3-Foot Closet Like a Pro
- Vertical Mounting Options That Save Inches and Time
- Compact Cleaning Gear Built for Tight Closets
- Smart Installation Hacks for Solid, Damage-Minimizing Mounts
In this post I’ll show you how to turn a 3-foot closet into an efficient vertical cleaning hub. I’ll cover five practical areas: how to size up the space, the best vertical mounting choices, compact gear that works without hogging real estate, installation tricks that limit damage, and easy maintenance habits to keep the system working. Expect real-world measurements, renter-friendly ideas, and minimalist tips to help you decide what deserves a spot. Read on and you’ll be ready to reclaim that tiny closet and make cleaning feel less like a battle and more like a quick routine.
First Things First: Size Up Your 3-Foot Closet Like a Pro
Picture the closet. Before you buy a row of hooks or a new organizer, get a clear sense of what you actually have to work with. This short inspection saves a lot of wasted hardware and awkward fits later.
Measure the interior width, depth, and height. Note door swing and any built-in shelf. Look for baseboard heating, trim, or anything else that eats space. Those little things decide whether a mount sits flush or you need offset brackets or a slim solution.
Also check the wall type and where studs fall. Drywall with studs, plaster, or paneling all need different anchors. If you rent, find out whether you can make holes or if you need tension or adhesive options. A quick look now prevents a lot of trial and error.
Finally, inventory what you actually use. Count brooms, types of mops, vacuum size, buckets, and how many sprays and pads you keep. That inventory plus measurements will tell you where to put hooks, how much vertical spacing you need, and what tools could be combined or donated. This upfront work turns guesswork into a plan.
Measure and map the shell of the closet
Start simple. Measure width, depth, and full height from floor to ceiling. Note door swing and any shelves or trim that reduce usable width. For a three-foot closet the nominal width is usually about 36 inches, but depth varies a lot, so don’t assume. Save those numbers on your phone. They’ll guide everything else.
Inventory what must fit
Lay everything out on the floor and take a photo. Include full-length tools (brooms, mops), the vacuum with wand attached, buckets, refill bottles, and a small caddy of cloths. Make a quick note of awkward items like a long-handled squeegee or feather duster. Mark how often you use each thing. If something hasn’t moved in six months, it probably doesn’t belong in a daily-access cleaning closet.
Watch vertical clearance and placement
Think in vertical zones. Top third for refills and seasonal gear you rarely touch. Middle third for handles you grab often. Bottom third for heavy gear and floor tools. Measure the tallest item standing upright. Most broom and mop handles are 48 to 60 inches long. Plan clip or hook heights so tools hang without scraping the floor and so handles don’t collide when stored side by side.
Check wall, door, and electrical constraints
Tap walls to find studs or use a small stud finder. The wall material matters for anchor choice and load. If you have a cordless vacuum that charges in the closet, note where the outlet is. Also check lighting and airflow. A tight, unventilated closet makes odors and mildew worse, especially if you’re storing damp mop heads.
Match items to modes of storage
Decide what needs rigid mounting, what can hang, and what should sit on the floor. Heavy vacuums usually want a stable floor spot near a charging outlet. Slim tools do great with clips or single hooks. Consumables like sprays and spare pads fit well in a shallow caddy on the back of the door if depth allows.
Quick decision rules to end the analysis
- If depth is under 12 inches, prioritize wall-mounted and over-the-door solutions only.
- If you can’t anchor into studs, plan for adhesive or tension-based options and keep the heaviest items on the floor.
- Keep daily-use tools within easy reach; move rarely-used gear to a different area.
- After you assess, sketch a simple layout on your closet photo and mark hook heights and zones. That small step saves wasted holes.
Vertical Mounting Options That Save Inches and Time
Imagine each tool hanging in its own place, easy to grab and easy to put back. Vertical mounting is the heart of a three-foot closet makeover. Here are the common systems and why they matter.
Start with simple hooks and clip racks for handles. They’re cheap, easy to install, and perfect for brooms, dusters, and lightweight tools. For heavier items, look at rail systems or slatwall panels that spread the load and let you move hooks around. French cleats are great for strong, adjustable support, especially for bulky cordless vacuums.
Adhesive and magnetic mounts are renter-friendly. High-strength adhesive strips and magnetic brackets can hold a lot if you prep the surface, but don’t overestimate them. Tension poles and over-the-door racks give you non-invasive options when drilling is off the table.
The best choice comes down to weight, wall type, and how often you need to move things. Start from your measurements and inventory. Vertical mounting turns that data into usable space. Below are practical options and placement tips so the closet works as a daily cleaning hub instead of a tangle.
Clip and hook systems
Use single hooks for light tools and spring-loaded or rubber-grip clips for brooms and mops. Center-to-center spacing of 3 to 4 inches keeps handles from rubbing and makes each tool reachable. Mount clips so bristles or mop heads sit just above the floor. For 48 to 60 inch handles, place the clip roughly 4 to 8 inches above the floor, depending on how the clip grips the handle. For heavier items (wet buckets, metal dustpans) use anchors rated for at least 20 to 30 pounds and screw into studs or a reinforced mounting board.
Quick tip. Wrap a small band of grippy tape around the hook nose to stop wooden handles from sliding down.
Slim racks and vertical caddies
If you need storage for bottles, cloths, or vacuum attachments, choose narrow wall-mounted caddies 3 to 6 inches deep. Vertical shelving with two or three shallow tiers holds sprays and pads without stealing depth. Mount the lowest shelf at about knee height so heavier refills stay low and the top tier is still within reach. Attach multiple racks to a thin backboard to spread weight across at least two anchors.
Tension and renter-friendly options
Tension poles that run floor to ceiling are underrated. Fit one in a closet and hang adjustable hooks and baskets from it. Over-the-door organizers also work when the door clears. For adhesive hooks, pick ones rated for the load, stick them to smooth clean surfaces, and avoid them for heavy vacuums or filled buckets. If drilling isn’t allowed, keep the really heavy stuff on the floor and use adhesive solutions only for light consumables and cloths.
DIY and heavy-duty mounts
If you can drill, screw a narrow 1x6 or a strip of plywood into studs across the back wall. Mount hooks, clips, or a pegboard to that board. It spreads the load and keeps fasteners aligned. For upright vacuums, build a simple floor docking bracket: an L-shaped plywood cradle on the floor and a single upper hook or charging point to steady it. Paint silhouettes or label cutouts on the board so everything has a visible home. That small visual cue makes putting things away almost automatic.
Final thought. Removing one rarely used item often frees more space than an elaborate hanger. Be intentional. Mount only what you use daily and your closet will feel much bigger.
Compact Cleaning Gear Built for Tight Closets
You can plan the best vertical system, but if your gear is bulky the closet will still feel cramped. Small-space living rewards clever gear choices. Here’s what to look for.
Cordless stick vacuums change the game. They stand upright and usually come with wall mounts that fit neatly into a vertical system. Slim brooms and mops with detachable heads let you hang handles close together. Collapsible dustpans, telescoping wands, and compact steamers cut depth needs.
Think multifunctional. A mop-vac combo or a pad-based system can replace several single-use tools. Favor tools with hanging holes, flat-profile handles, or included mounts. Small caddies and nested bins keep supplies contained without adding bulk.
Later you’ll get model suggestions and sizing tips. For now, list what you need and be willing to let go of one-off gadgets. Intentional gear selection makes any vertical system work so much better.
Essential compact tools that actually clean
Size matters, but performance matters more. Aim for tools that collapse, telescope, or nest so they live small and work well.
- Handheld vacuum, under 6 pounds, narrow crevice nozzle for corners and stairs.
- Stick vacuum with removable wand, 7 to 9 inch cleaning head for whole floors.
- Flat microfiber mop with snap-on pads instead of a bucket-and-string mop.
- Fold-flat broom plus a locking dustpan that snaps closed.
Short list:
- Handheld vacuum, <6 lbs, narrow crevice nozzle.
- Stick vacuum with removable wand, 7-9 inch head.
- Flat microfiber mop with snap-on pads.
- Fold-flat broom + locking dustpan.
Smart consumables and accessories
Small wins add up. Replace multiple bottles with a single concentrated cleaner and decant into a small spray bottle for daily use. Store refill pouches on the top shelf and keep the working bottle in a slim door caddy or a 3 to 4 inch deep wall basket. Microfiber cloths beat sponges for longevity and compress tightly in a zip pouch. Pick reusable mop heads and pads you can machine wash. For wet tools, keep a hanger or small drying rack so nothing gets stored damp.
Quick tips:
- Buy concentrated cleaners to reduce bottle count.
- Keep spare pads in a labeled zip bag.
- Use small refill bottles for everyday access.
Multi-function and modular wins
If a tool does more, you need fewer. Look for tools with a common handle thread so dusters, mops, and squeegees share one pole. Choose vacuums that nest crevice and brush tools into the body. A kit that converts from floor to detail work eliminates duplicates. If you like compact design, check camping and RV gear for great folding and nesting ideas.
Selection checklist before you buy
- Measure closet depth and planned footprint. If the tool won’t fit stored, it’s not compact.
- Prefer removable parts that hang or nest.
- Weight matters. Lighter tools get used more.
- Avoid single-use gadgets. If it only cleans one surface, skip it.
- Consider maintenance: washable pads, replaceable filters, and easy battery swaps.
Practical note. The smallest tool is useless if you never use it. Pick gear that reduces friction: easy to grab, easy to clean, and easy to put back.
Smart Installation Hacks for Solid, Damage-Minimizing Mounts
This is where plans meet reality. Mount too low and you’ll block a vacuum; too high and a broom won’t sit right. These installation hacks keep your vertical system sturdy, ergonomic, and renter-friendly when needed.
Start with a layout plan. Use paper templates or painter’s tape to mock up mount positions and test reachability. Mark studs and space hooks so handles don’t collide. For heavy tools, use multiple attachment points or a French cleat to spread the load.
If you rent, look at high-strength adhesive mounts, over-the-door racks, or tension poles. When drilling, use the right anchors and pilot holes. A level and a drill with a depth stop are cheap tools that prevent crooked and overdrilled mistakes.
Below are concrete steps to make installation painless and low-risk.
Make a foolproof template first
Spend ten minutes with cardboard before you touch the drill. Cut a strip the same width as your planned rack or group of hooks. Hold it in place, mark hole locations with a pencil, step back and imagine the handles hanging. Move marks a half inch if anything looks cramped. When it feels right, transfer those marks to painter’s tape on the wall so your drill bit won’t wander.
Steps:
- Tape template to wall at desired height.
- Use a level or phone app to make sure it’s straight.
- Mark through the template, remove tape, then drill.
Drill like a pro without guessing
A few small habits prevent big mistakes. Use the tip of a nail to make a starting dent on drywall or plaster. Start with a smaller pilot bit, then move up to the anchor size. If you hit a stud, use wood screws for a stronger hold. For hollow walls, choose toggle anchors or molly bolts so the fastener bites into the cavity and won’t pull out with repeated use.
Quick rules:
- Pilot hole first. Less splitting, more accuracy.
- Match anchor type to wall and load.
- Keep screws slightly recessed so hooks sit flush.
Renter-friendly options that actually hold
You can have strength without permanent holes. Two tricks work well. First, pair heavy-duty adhesive hooks with a removable backer board (thin plywood or composite) stuck with the adhesive. The board spreads the load and prevents adhesive failure. Second, use a tension pole with adjustable clips to create multiple hanging points without drilling. Let wet tools dry outside the closet before rehanging so adhesives don’t weaken.
Removal tip: warm adhesive with a hair dryer before peeling. The heat softens the glue and reduces paint damage.
Small touches that keep things tidy
Little details make the difference. Add rubber bumpers or a strip of non-slip tape on hook noses so handles don’t slide. Route charging cords with adhesive cable clips or Velcro straps so plugs don’t drape across the floor. Paint or sketch silhouettes on a thin board so every tool has a visible home. Those tiny cues dramatically increase the chance things get put back.
Install once, think ahead, and make retrieval as effortless as storage. Your closet will reward you.
Keep It Working: Maintenance Tips for Vertical Systems
A tidy setup only helps if you keep it that way. Vertical systems need small, scheduled upkeep to stay safe and usable. These habits take minutes and pay off in calm, usable space.
Check things periodically. Every few months test hook tightness, inspect adhesive mounts for lifting, and make sure screws remain snug. Wipe away dust and grit from mounts so bonds hold and moving parts don’t grind. For battery vacuums, follow charging and storage guidelines to avoid swollen cells and other battery problems.
Rotate and pare down seasonally. Move rarely-used tools elsewhere and keep the closet for daily gear. Labels and color-coded caddies make returning things to their home simpler and prevent duplicates.
Quick daily and weekly habits that keep the closet usable
Make putting things back almost automatic. A one-minute daily tuck keeps chaos away. Return each tool to its assigned clip immediately after use.
Once a week, do a quick wipe. A damp microfiber cloth across hooks, racks, and shelves removes dust and sticky residue. Check the floor under tools and sweep out crumbs before they grind into the paint.
Monthly check: tighten, test, tidy
Every month, grab a screwdriver and tighten any loose screws on racks or cleats. Give adhesive mounts a gentle pull test; if edges lift, replace them while failure is small. Keep a tiny repair kit in the closet (two anchors, a few screws, a small roll of grip tape, and a multi-bit screwdriver). It saves a late-night hardware run.
Look for wear. Rubber clips, foam padding, and hook noses wear out. Replace or wrap them with non-slip tape so handles don’t slide and bang.
Tool care so the system stays light and fresh
Empty vacuum bins after major use. It’s quick and keeps suction strong. Clean or tap out filters monthly. For stick or handheld vacuums, remove hair from brush rolls with scissors or a little cleaning tool. Small chores make a big difference.
Wash microfiber mop heads on a hot cycle (no fabric softener) and let them dry completely before storing. Damp gear is the fastest way to bring mildew into a small closet.
For batteries, avoid leaving a vacuum constantly plugged in for months. Charge after use and store in a cool, ventilated spot if you’ll be away. If you remove batteries for long-term storage, keep them at about 40 to 60 percent charge.
Airflow, smell control, and mildew prevention
Small spaces trap moisture. Leave the closet door ajar sometimes, or set a couple of desiccant packs on a top shelf to absorb humidity. Replace them when they feel damp. For faint odors, a small breathable pouch of baking soda with a few drops of essential oil does wonders.
Quarterly purge and reset
Every three months do a short audit. Remove items you haven’t used in 90 days. Refill consumables and consolidate bottles. Relabel anything that migrated. If something doesn’t fit your lifestyle or space, donate or relocate it. Fewer things means less maintenance and more calm.
What You Should Remember
Start with the basics: measure the closet, inventory every broom, mop, and vacuum, and map vertical zones so the top stores refills, the middle holds handles, and the bottom supports heavy gear. The real wins come from the details. Hooks, clip racks, slim caddies, and renter-friendly choices like tension poles or adhesive-backed boards turn a cramped space into an organized cleaning hub.
Pick compact, multi-use tools (cordless stick vacuums, fold-flat brooms, flat microfiber mops) and match mounts to weight and wall type (French cleats or a reinforced backboard for heavy items; adhesive clips or over-the-door racks for light consumables). Use simple installation tricks: paper templates, pilot holes, and a level so your mounts are ergonomic and low-damage. Add little touches like silhouettes on a board, non-slip tape on hooks, and a tiny repair kit to keep the system intuitive.
Now do one practical thing. Take a photo of your closet and sketch a layout on it. Choose one mounting option that fits your wall type and install three to five hooks or a slim caddy this weekend. Commit to simple upkeep: daily tucks, a weekly wipe, a monthly tighten, and a quarterly purge. Measure and photograph your closet now, make one small upgrade, and enjoy the calm of everything having a home. Snap a before-and-after and share it to inspire other small-space folks.
Storage bin fit calculator
Plan a shelf, cabinet, or under-bed space with your own set of bins. Enter each size, see the arrangement, and check how you will get them out.
Related product reviews
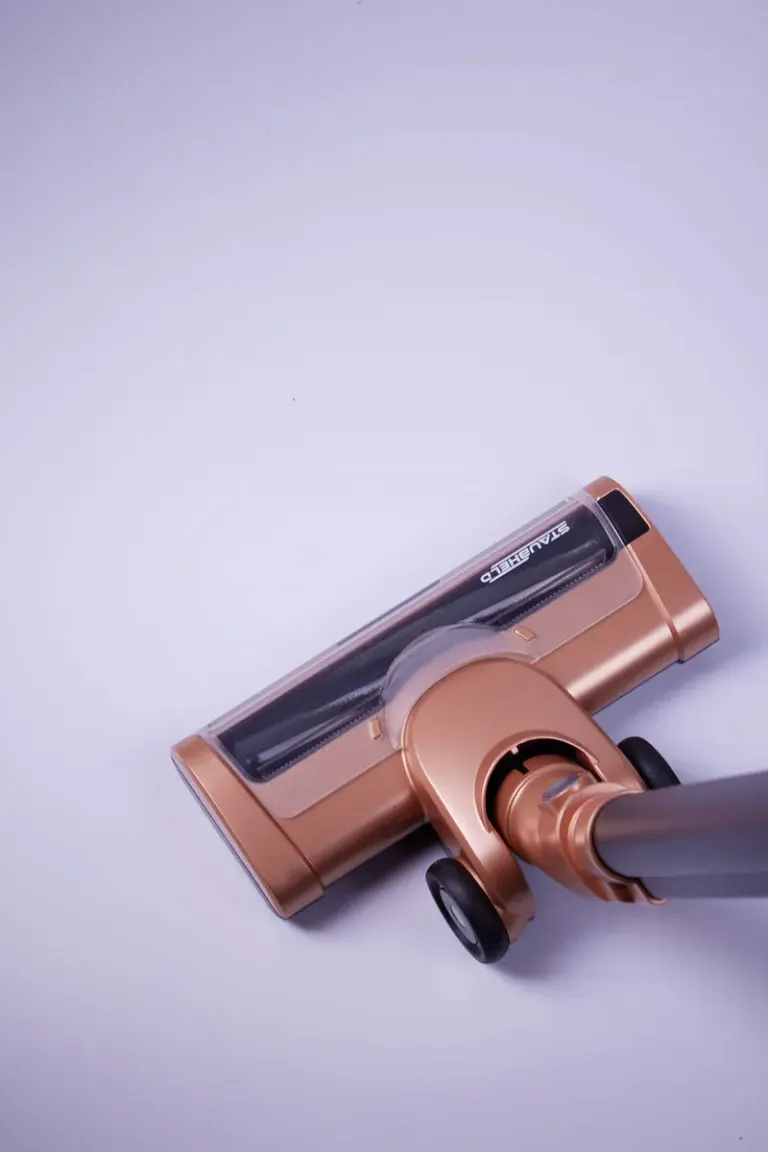
Best Vertical Vacuum Holsters for Small Spaces
Find the best vertical vacuum holsters to free floor space, secure vacuums on narrow stairs, and organize accessories for safer small-space living.
Read more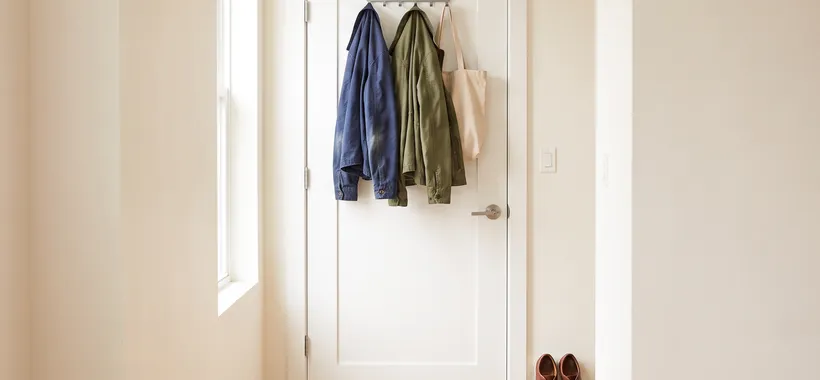
Best Over-Door Multi-Hook Organizers for Small Space Entryways
Compare five hook racks on the two measurements that decide first, door thickness and top-jamb clearance, with folding versus fixed over-door options and a wall-mount rail as the labeled fallback for doors that cannot take over-door hardware.
Read more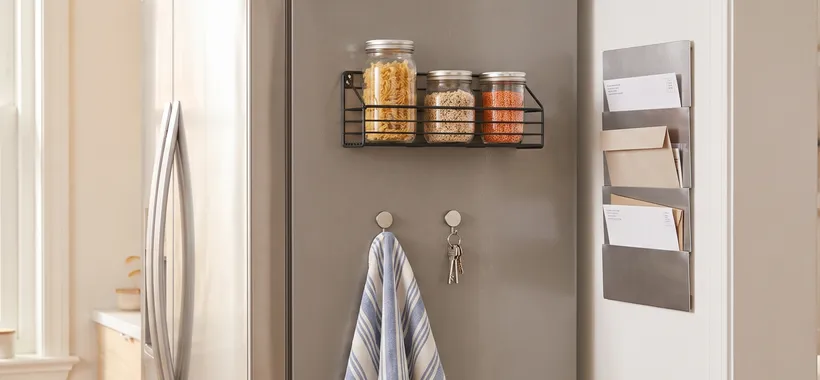
Best Magnetic Modular Storage for Small Space Living
Match magnetic shelves, file pockets, wall panels, and hooks to the metal surface you actually have. Five picks for kitchen, office, entryway, and hanging jobs, plus what a weight rating really holds and what to measure first.
Read more